WebGPU Environment Maps (reflections)
This article continues from the article on cube maps. This article also uses concepts covered in the article on lighting. If you have not read those articles already you might want to read them first.
An environment map represents the environment of the objects you’re drawing. If the you’re drawing an outdoor scene it would represent the outdoors. If you’re drawing people on a stage it would represent the venue. If you’re drawing an outer space scene it would be the stars. We can implement an environment map with a cube map if we have 6 images that show the environment from a point in space in the 6 directions of the cubemap.
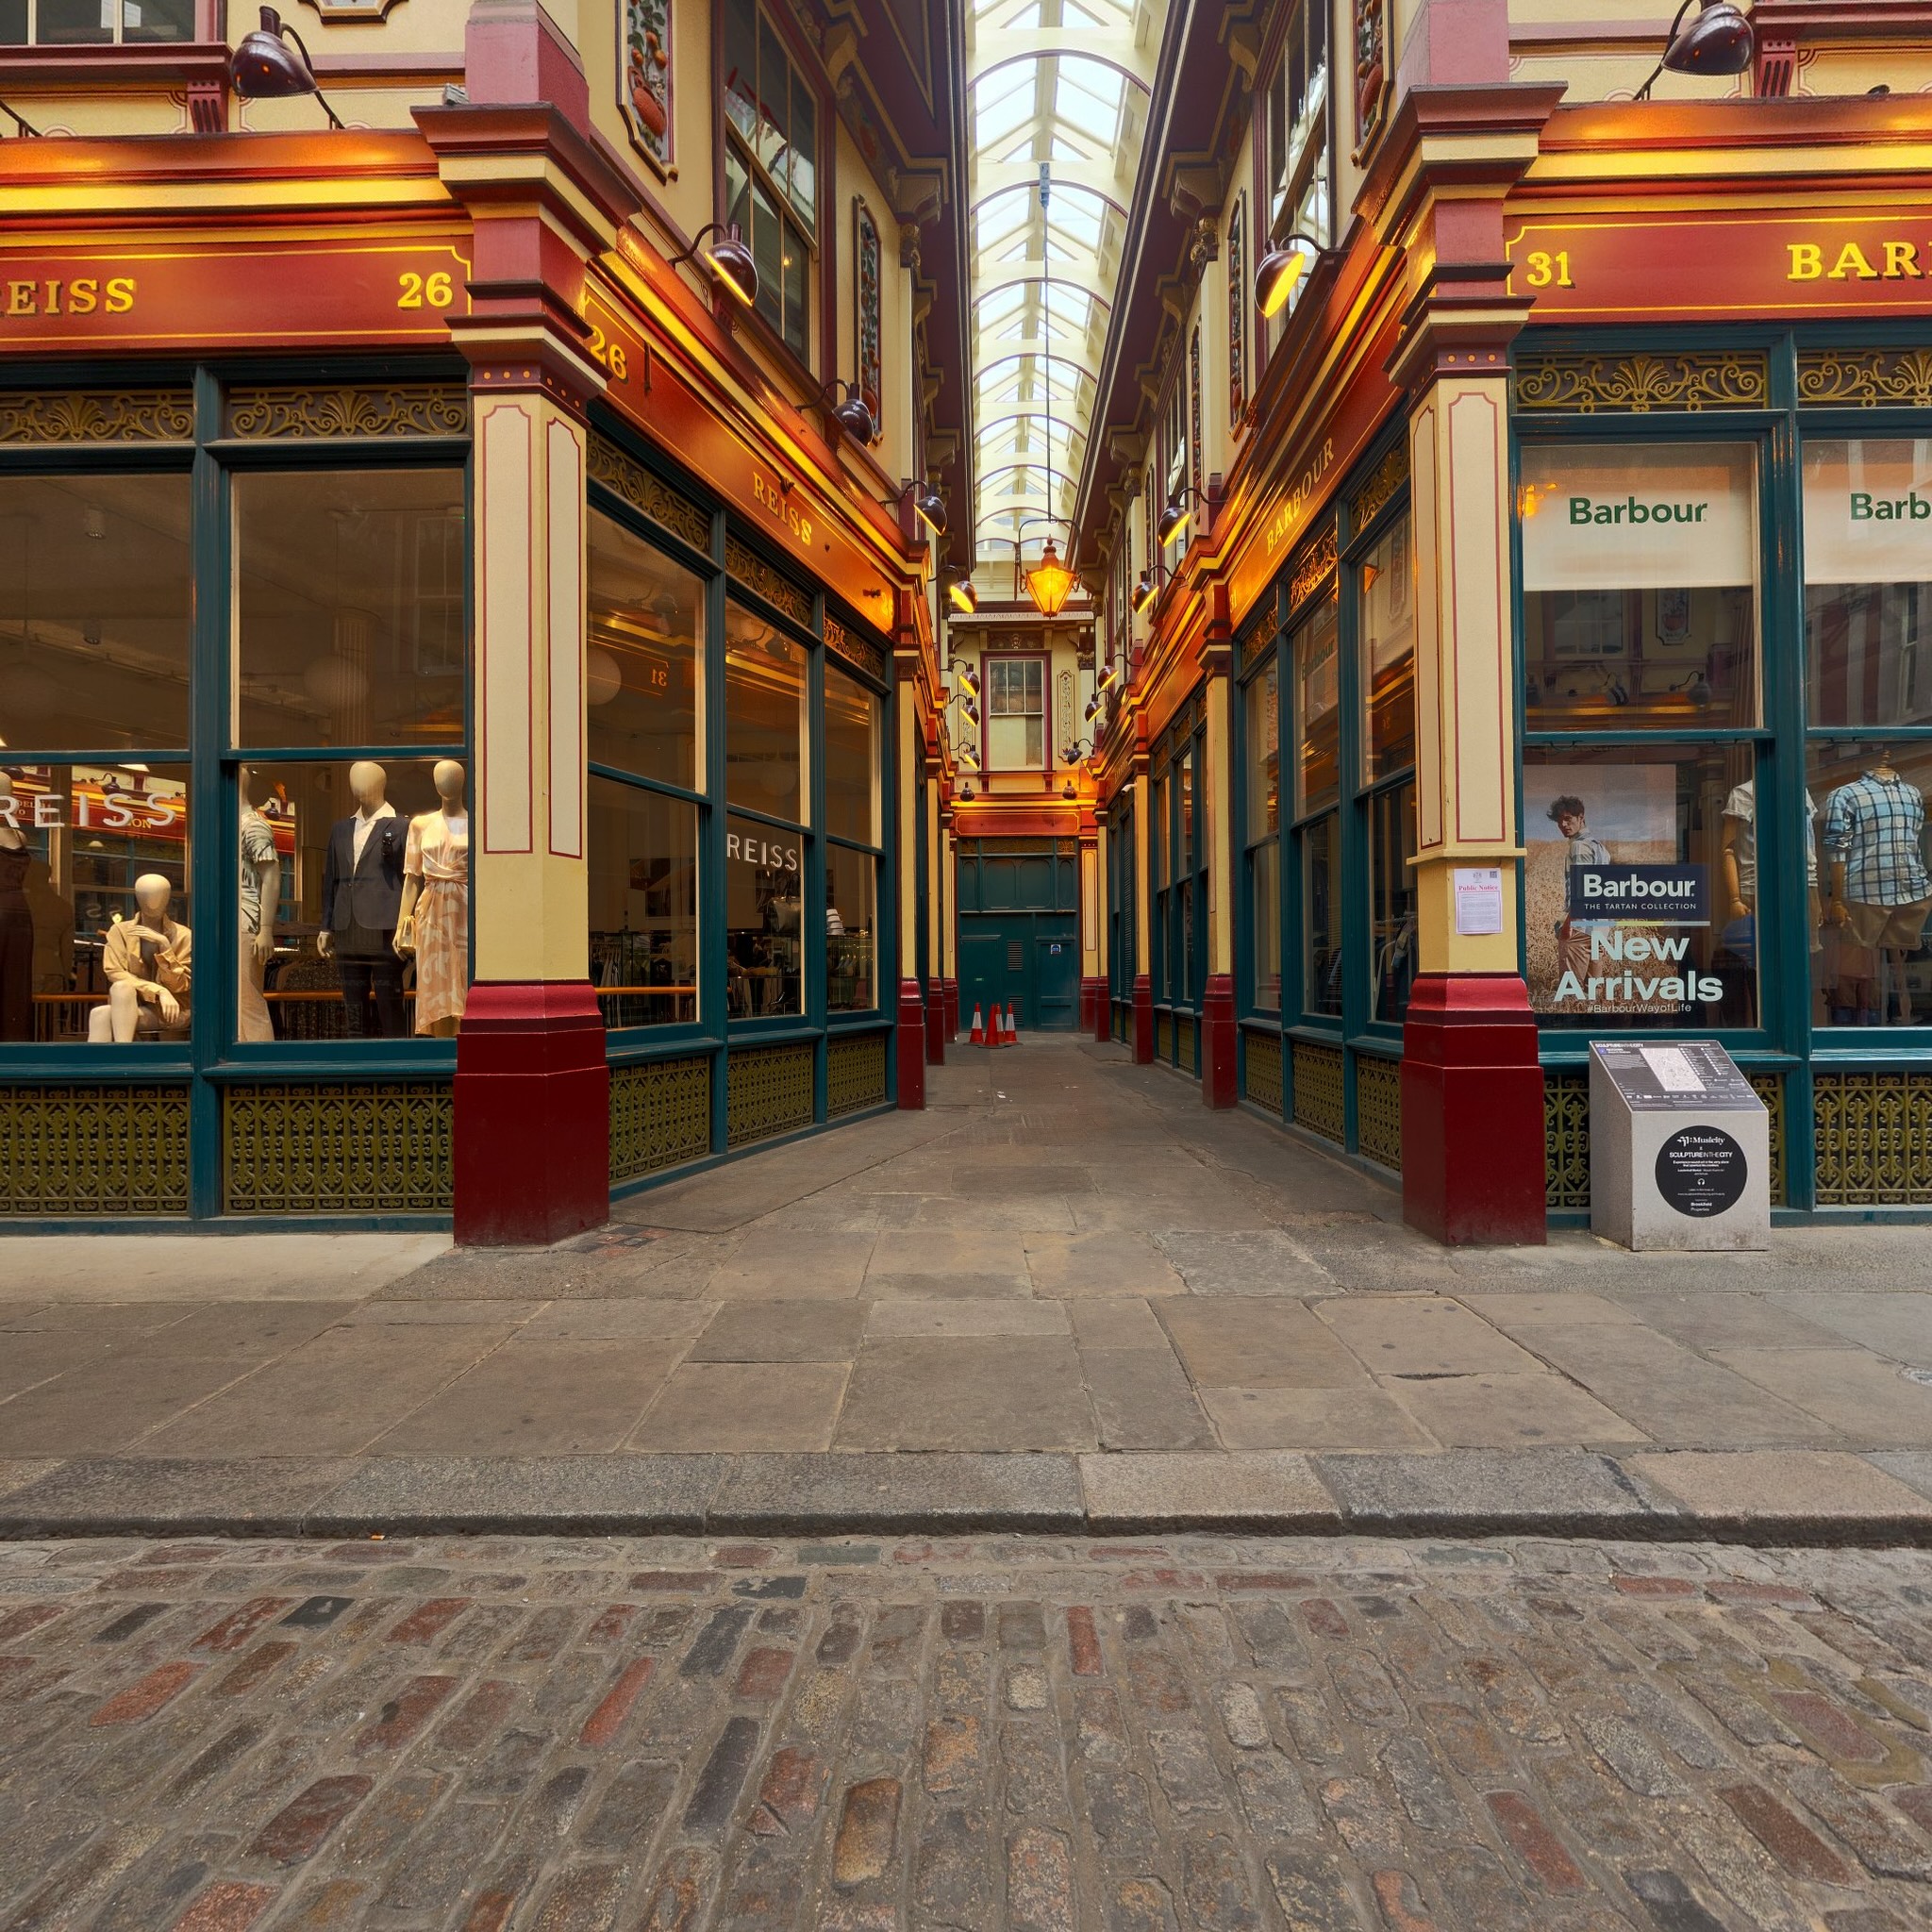
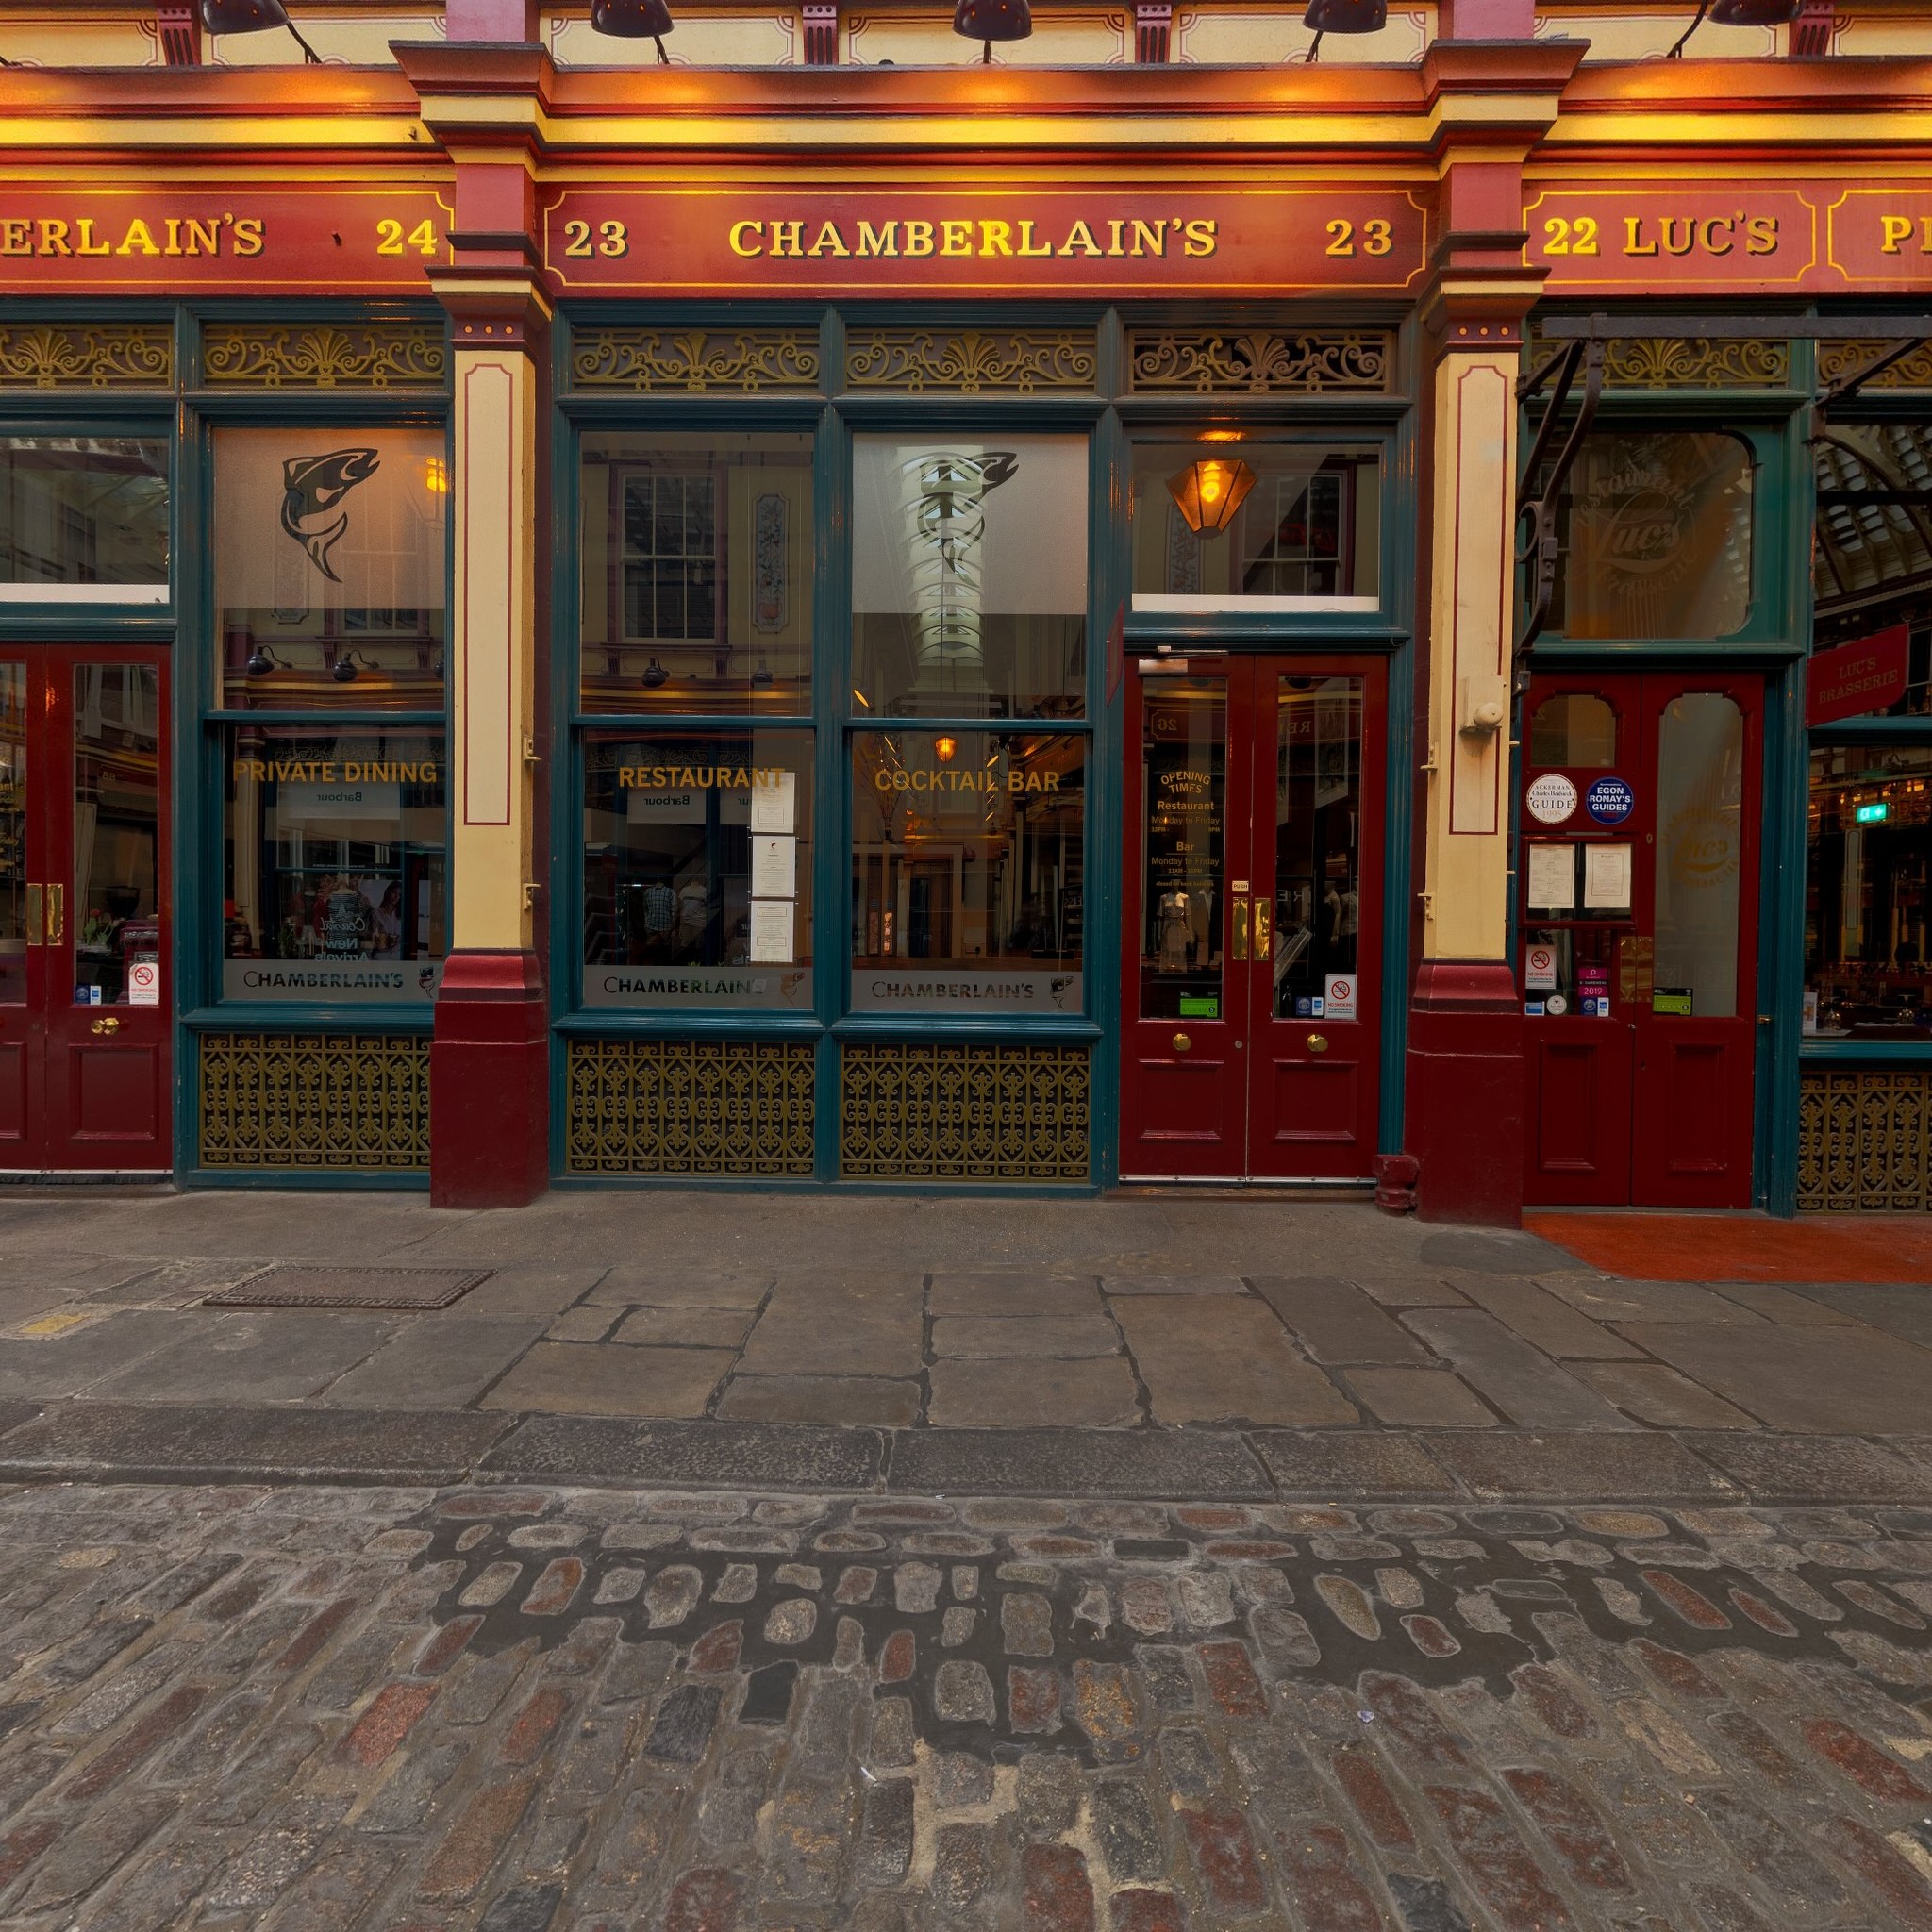
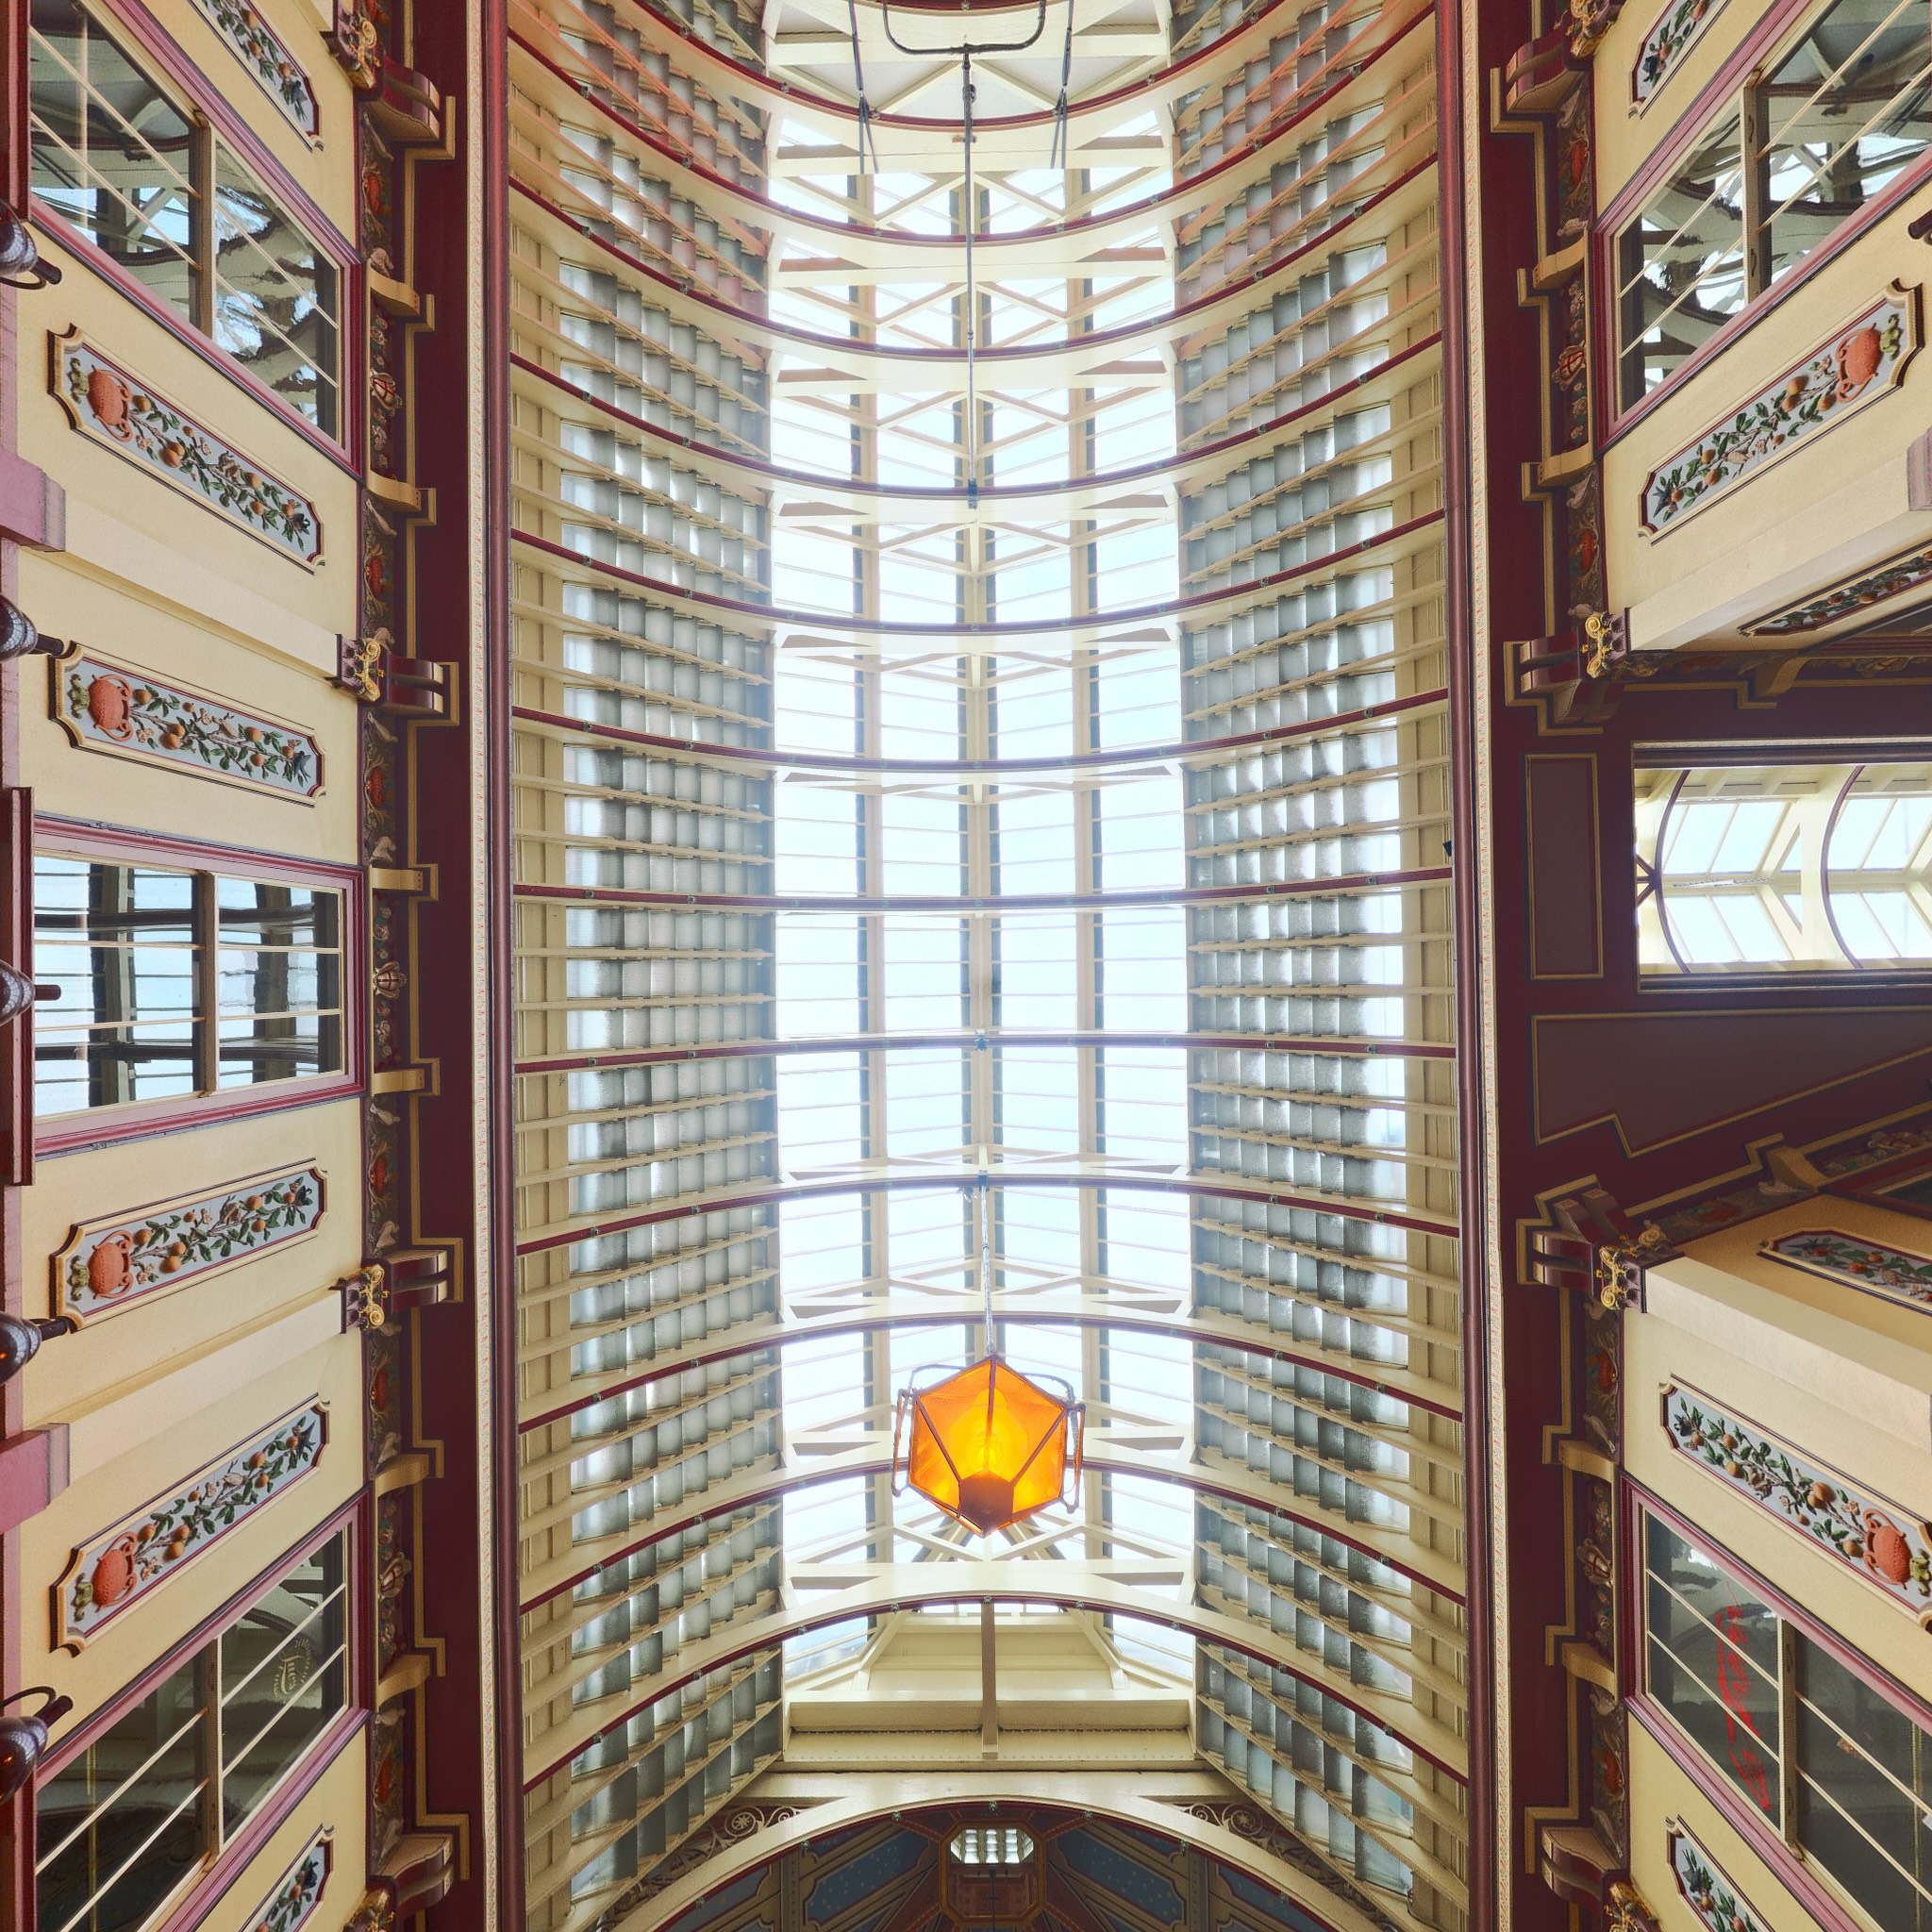
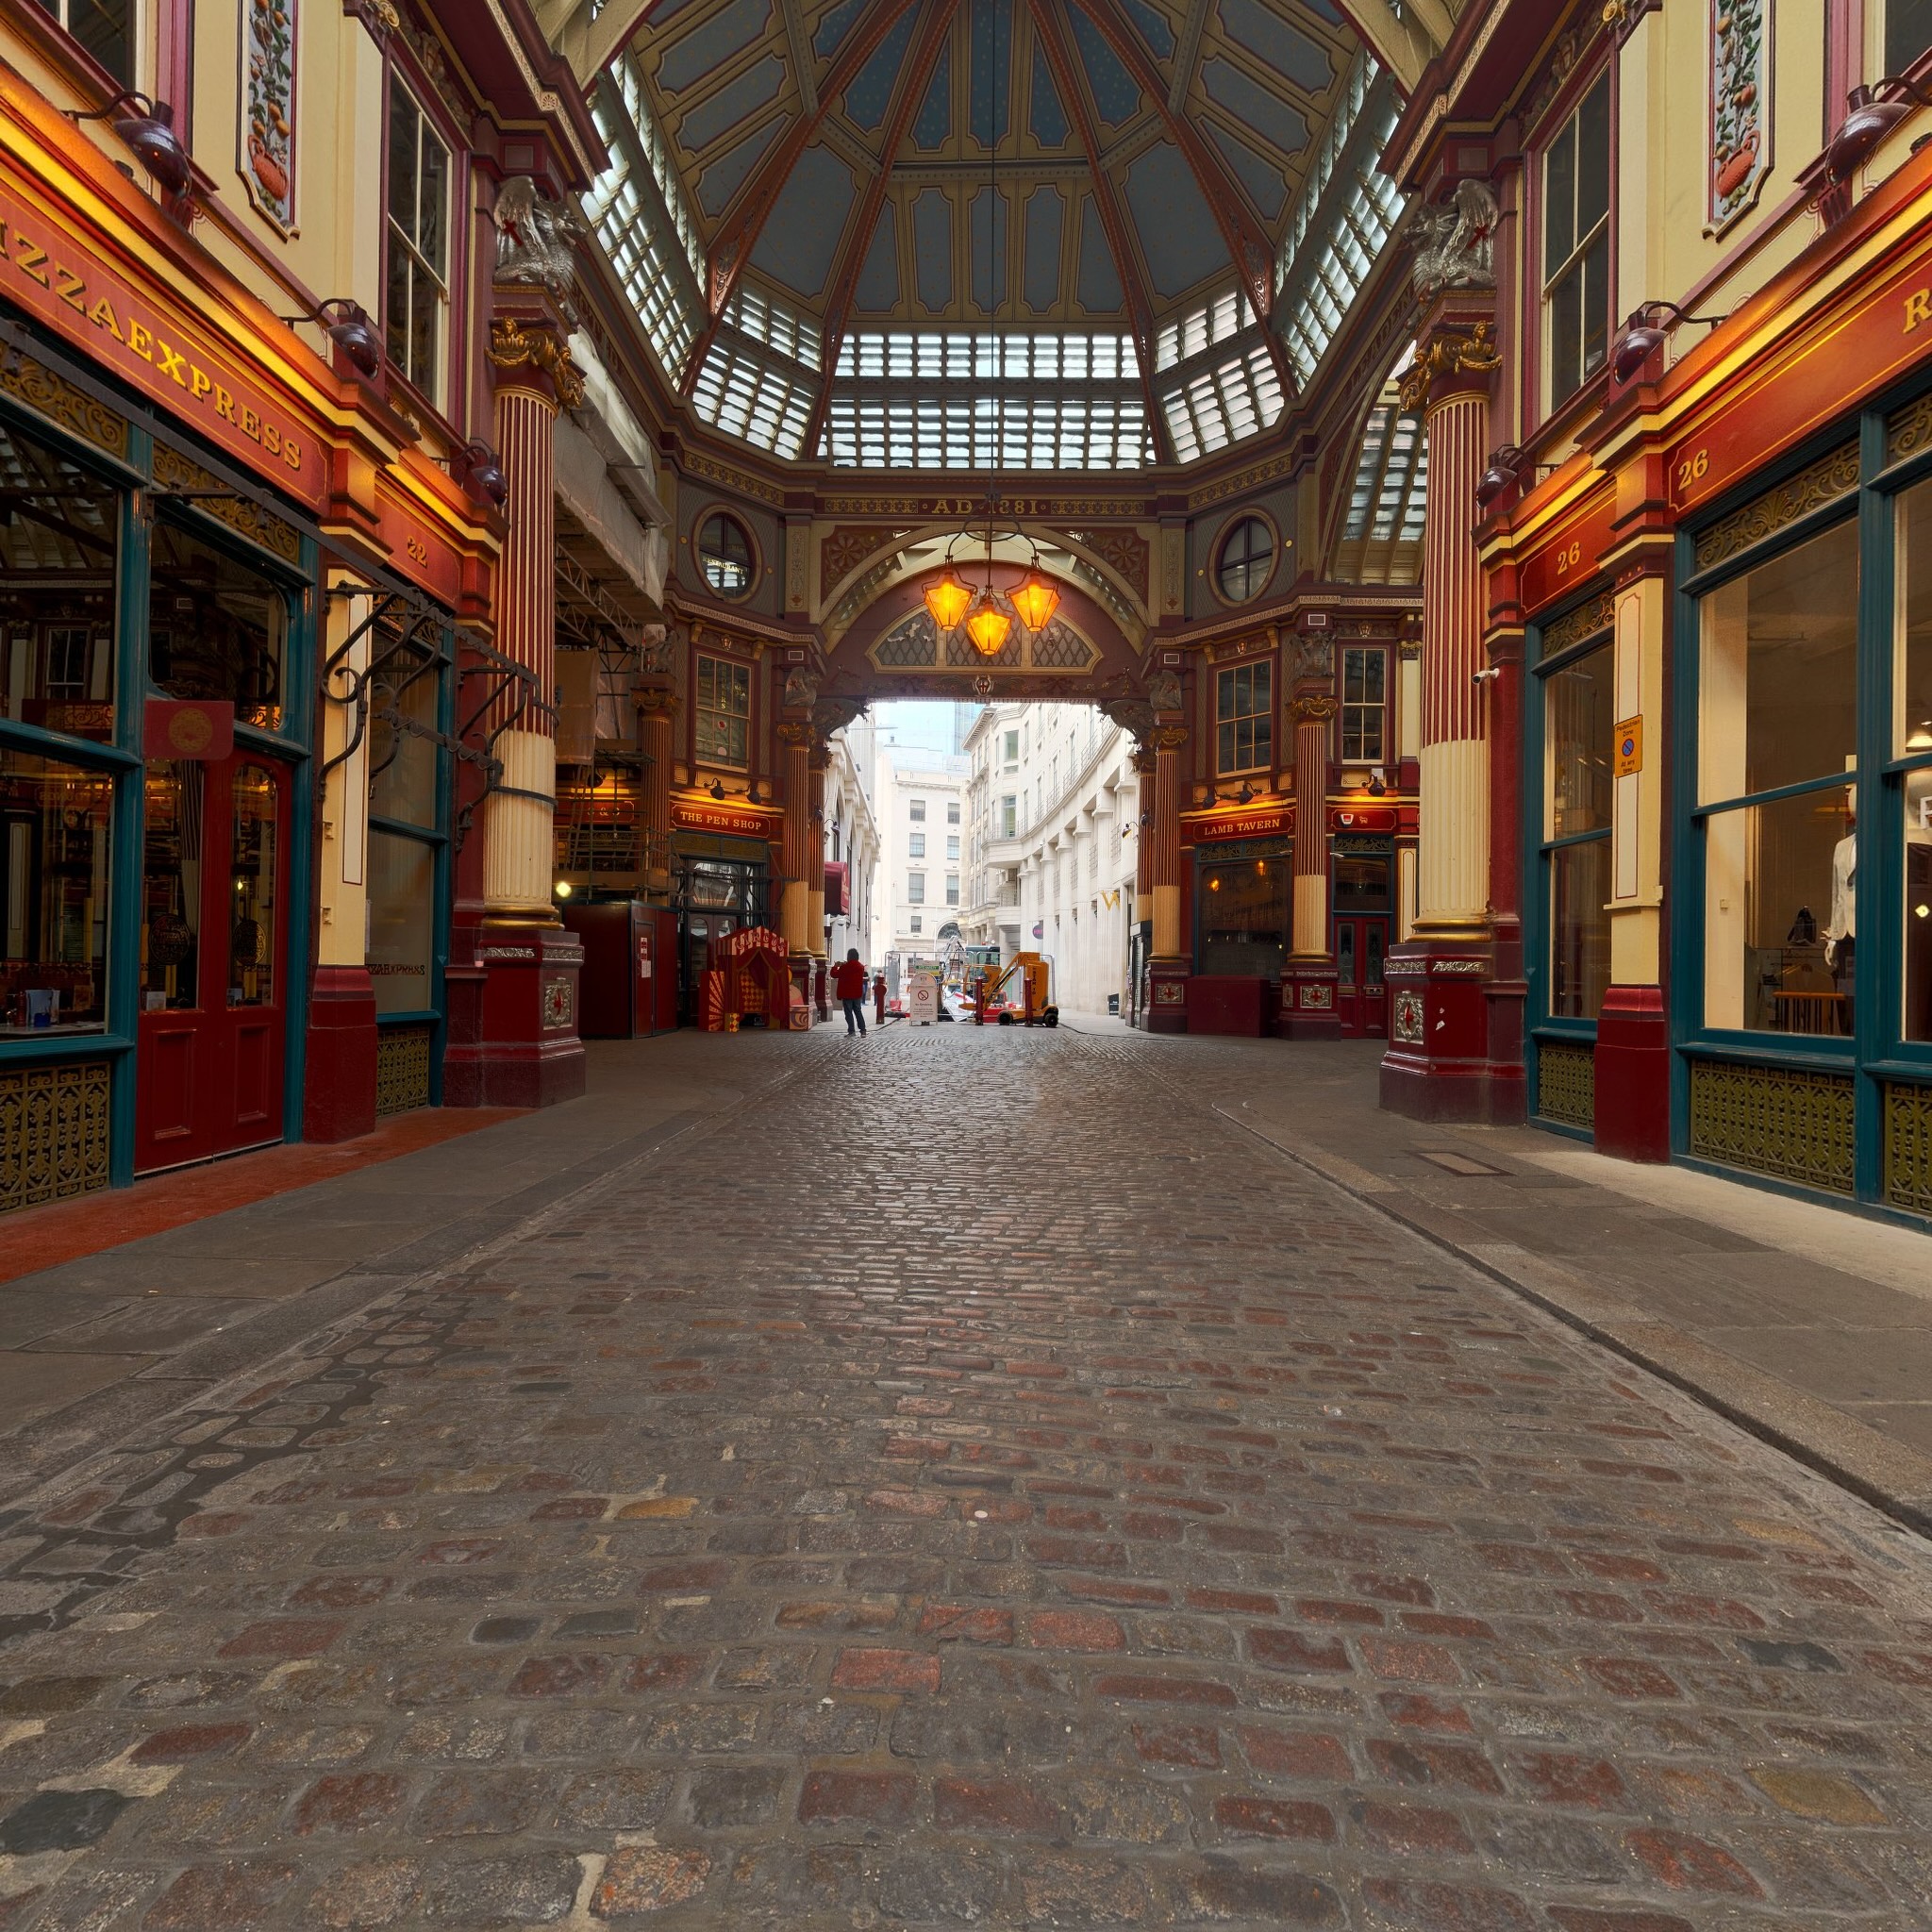
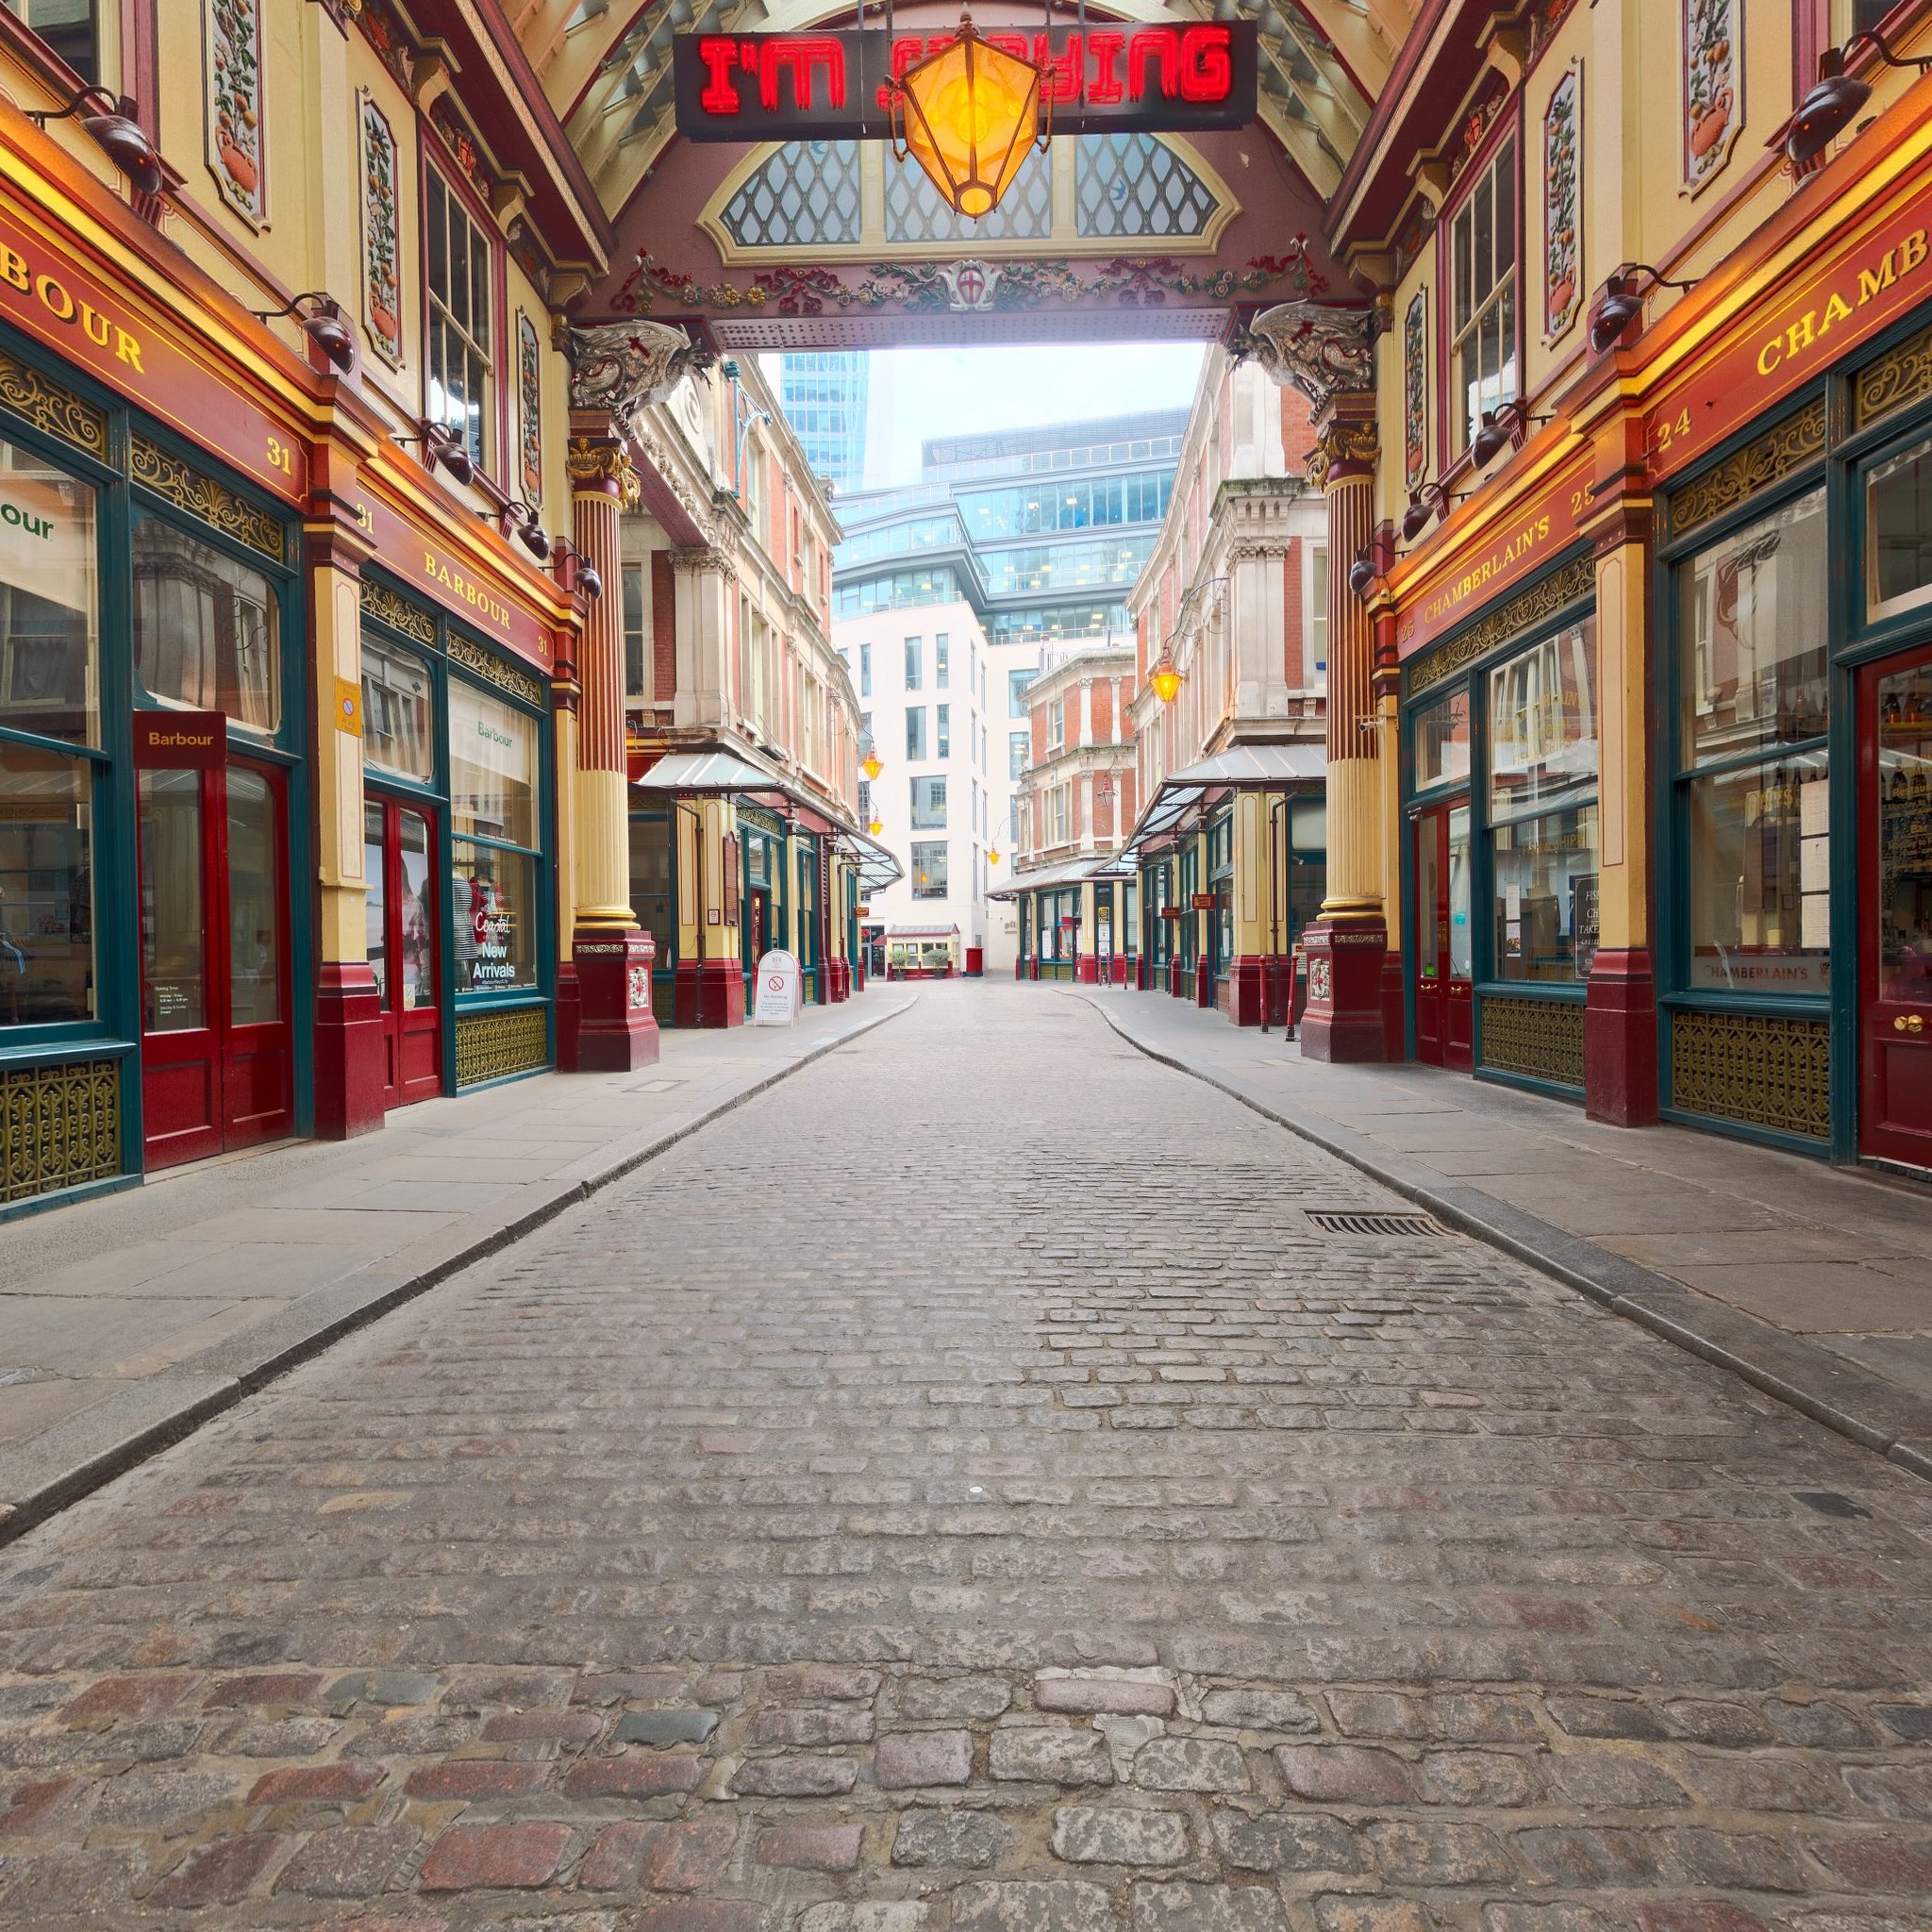
Here’s an environment map from the lobby of the Leadenhall Market in London.
Based on the code in the previous article let’s load those 6 images instead of the canvases we generated. From the article on importing textures we had these two function. One to load an image and another to create a texture from an image.
  async function loadImageBitmap(url) {
    const res = await fetch(url);
    const blob = await res.blob();
    return await createImageBitmap(blob, { colorSpaceConversion: 'none' });
  }

  async function createTextureFromImage(device, url, options) {
    const imgBitmap = await loadImageBitmap(url);
    return createTextureFromSource(device, imgBitmap, options);
  }
Let’s add and one to load multiple images
+  async function createTextureFromImages(device, urls, options) {
+    const imgBitmaps = await Promise.all(url.map(loadImageBitmap));
+    return createTextureFromSource(device, imgBitmaps, options);
+  }

  async function createTextureFromImage(device, url, options) {
-    const imgBitmap = await loadImageBitmap(url);
-    return createTextureFromSource(device, imgBitmap, options);
+    return createTextureFromImages(device, [url], options);
  }
While we were at it we also changed the existing function to use the new one. Now we can use the new one to load the six images.
-  const texture = await createTextureFromSources(
-      device, faceCanvases, {mips: true, flipY: false});
+  const texture = await createTextureFromImages(
+      device,
+      [
+        'resources/images/leadenhall_market/pos-x.jpg',
+        'resources/images/leadenhall_market/neg-x.jpg',
+        'resources/images/leadenhall_market/pos-y.jpg',
+        'resources/images/leadenhall_market/neg-y.jpg',
+        'resources/images/leadenhall_market/pos-z.jpg',
+        'resources/images/leadenhall_market/neg-z.jpg',
+      ],
+      {mips: true, flipY: false},
+  );
In fragment shader we want to know, for each fragment to be drawn, given a vector from the eye/camera to that position on the surface of the object, which direction will it reflect off the that surface. We can then use that direction to get a color from the cubemap.
The formula to reflect is
reflectionDir = eyeToSurfaceDir –
    2 ∗ dot(surfaceNormal, eyeToSurfaceDir) ∗ surfaceNormal
Thinking about what we can see it’s true. Recall from the lighting articles that a dot product of 2 vectors returns the cosine of the angle between the 2 vectors. Adding vectors gives us a new vector so let’s take the example of an eye looking directly perpendicular to a flat surface.

Let’s visualize the formula above. First off recall the dot product of 2 vectors pointing in exactly opposite directions is -1 so visually

Plugging in that dot product with the eyeToSurfaceDir and normal in the reflection formula gives us this

Which multiplying -2 by -1 makes it positive 2.

So adding the vectors by connecting them up gives us the reflected vector

We can see above given 2 normals, one completely cancels out the direction from the eye and the second one points the reflection directly back towards the eye. Which if we put back in the original diagram is exactly what we’d expect

Let’s rotate the surface 45 degrees to the right.

The dot product of 2 vectors 135 degrees apart is -0.707

So plugging everything into the formula

Again multiplying 2 negatives gives us a positive but the vector is now about 30% shorter.

Adding up the vectors gives us the reflected vector

Which if we put back in the original diagram seems correct.

We use that reflected direction to look at the cubemap to color the surface of the object.
Here’s a diagram where you can set the rotation of the surface and see the various parts of the equation. You can also see the reflection vectors point to the different faces of the cubemap and effect the color of the surface.
Now that we know how reflection works and that we can use it to look up values from the cubemap let’s change the shaders to do that.
First in the vertex shader we’ll compute the world position and world oriented normal of the vertices and pass those to the fragment shader as inter-stage variables. This is similar to what we did in the article on spotlights.
struct Uniforms {
-  matrix: mat4x4f,
+  projection: mat4x4f,
+  view: mat4x4f,
+  world: mat4x4f,
+  cameraPosition: vec3f,
};

struct Vertex {
  @location(0) position: vec4f,
+  @location(1) normal: vec3f,
};

struct VSOutput {
  @builtin(position) position: vec4f,
-  @location(0) normal: vec3f,
+  @location(0) worldPosition: vec3f,
+  @location(1) worldNormal: vec3f,
};

@group(0) @binding(0) var<uniform> uni: Uniforms;
@group(0) @binding(1) var ourSampler: sampler;
@group(0) @binding(2) var ourTexture: texture_cube<f32>;

@vertex fn vs(vert: Vertex) -> VSOutput {
  var vsOut: VSOutput;
-  vsOut.position = uni.matrix * vert.position;
-  vsOut.normal = normalize(vert.position.xyz);
+  vsOut.position = uni.projection * uni.view * uni.world * vert.position;
+  vsOut.worldPosition = (uni.world * vert.position).xyz;
+  vsOut.worldNormal = (uni.world * vec4f(vert.normal, 0)).xyz;
  return vsOut;
}
Then in the fragment shader we normalize the worldNormal since it’s being
interpolated across the surface between vertices. Based on the matrix math
from the article on cameras we can get the world position
of the camera by getting the 3rd row of the view matrix and negating it and by subtracting that from the world position of the surface we
get the eyeToSurfaceDir.
And finally we use reflect which is a built in WGSL function that implements
the formula we went over above. We use the result to get a color from the
cubemap.
@fragment fn fs(vsOut: VSOutput) -> @location(0) vec4f {
+  let worldNormal = normalize(vsOut.worldNormal);
+  let eyeToSurfaceDir = normalize(vsOut.worldPosition - uni.cameraPosition);
+  let direction = reflect(eyeToSurfaceDir, worldNormal);

-  return textureSample(ourTexture, ourSampler, normalize(vsOut.normal));
+  return textureSample(ourTexture, ourSampler, direction);
}
We also need real normals for this example. We need real normals so the faces of the cube appear flat. In the previous example, just to see the cubemap work, we repurposed the cube’s positions but in this case we need actual normals for a cube like we covered in the article on lighting
  const vertexData = new Float32Array([
-     // front face
-    -1,  1,  1,
-    -1, -1,  1,
-     1,  1,  1,
-     1, -1,  1,
-     // right face
-     1,  1, -1,
-     1,  1,  1,
-     1, -1, -1,
-     1, -1,  1,
-     // back face
-     1,  1, -1,
-     1, -1, -1,
-    -1,  1, -1,
-    -1, -1, -1,
-    // left face
-    -1,  1,  1,
-    -1,  1, -1,
-    -1, -1,  1,
-    -1, -1, -1,
-    // bottom face
-     1, -1,  1,
-    -1, -1,  1,
-     1, -1, -1,
-    -1, -1, -1,
-    // top face
-    -1,  1,  1,
-     1,  1,  1,
-    -1,  1, -1,
-     1,  1, -1,
+     //  position   |  normals
+     //-------------+----------------------
+     // front face      positive z
+    -1,  1,  1,         0,  0,  1,
+    -1, -1,  1,         0,  0,  1,
+     1,  1,  1,         0,  0,  1,
+     1, -1,  1,         0,  0,  1,
+     // right face      positive x
+     1,  1, -1,         1,  0,  0,
+     1,  1,  1,         1,  0,  0,
+     1, -1, -1,         1,  0,  0,
+     1, -1,  1,         1,  0,  0,
+     // back face       negative z
+     1,  1, -1,         0,  0, -1,
+     1, -1, -1,         0,  0, -1,
+    -1,  1, -1,         0,  0, -1,
+    -1, -1, -1,         0,  0, -1,
+    // left face        negative x
+    -1,  1,  1,        -1,  0,  0,
+    -1,  1, -1,        -1,  0,  0,
+    -1, -1,  1,        -1,  0,  0,
+    -1, -1, -1,        -1,  0,  0,
+    // bottom face      negative y
+     1, -1,  1,         0, -1,  0,
+    -1, -1,  1,         0, -1,  0,
+     1, -1, -1,         0, -1,  0,
+    -1, -1, -1,         0, -1,  0,
+    // top face         positive y
+    -1,  1,  1,         0,  1,  0,
+     1,  1,  1,         0,  1,  0,
+    -1,  1, -1,         0,  1,  0,
+     1,  1, -1,         0,  1,  0,
  ]);
And of course we need to change our pipeline to provide the normals
  const pipeline = device.createRenderPipeline({
    label: '2 attributes',
    layout: 'auto',
    vertex: {
      module,
      buffers: [
        {
-          arrayStride: (3) * 4, // (3) floats 4 bytes each
+          arrayStride: (3 + 3) * 4, // (6) floats 4 bytes each
          attributes: [
            {shaderLocation: 0, offset: 0, format: 'float32x3'},  // position
+            {shaderLocation: 1, offset: 12, format: 'float32x3'},  // normal
          ],
        },
      ],
    },
As usual we need to setup our uniform buffer and views
-  // matrix
-  const uniformBufferSize = (16) * 4;
+  // projection, view, world, cameraPosition, pad
+  const uniformBufferSize = (16 + 16 + 16 + 3 + 1) * 4;
  const uniformBuffer = device.createBuffer({
    label: 'uniforms',
    size: uniformBufferSize,
    usage: GPUBufferUsage.UNIFORM | GPUBufferUsage.COPY_DST,
  });

  const uniformValues = new Float32Array(uniformBufferSize / 4);

  // offsets to the various uniform values in float32 indices
-  const kMatrixOffset = 0;
-  const matrixValue = uniformValues.subarray(kMatrixOffset, kMatrixOffset + 16);
  const kProjectionOffset = 0;
  const kViewOffset = 16;
  const kWorldOffset = 32;
+  const projectionValue = uniformValues.subarray(kProjectionOffset, kProjectionOffset + 16);
+  const viewValue = uniformValues.subarray(kViewOffset, kViewOffset + 16);
+  const worldValue = uniformValues.subarray(kWorldOffset, kWorldOffset + 16);
+  const cameraPositionValue = uniformValues.subarray(
+      kCameraPositionOffset, kCameraPositionOffset + 3);
And we need to set them at render time
    const aspect = canvas.clientWidth / canvas.clientHeight;
    mat4.perspective(
        60 * Math.PI / 180,
        aspect,
        0.1,      // zNear
        10,      // zFar
-        matrixValue,
+        projectionValue,
    );
+    cameraPositionValue.set([0, 0, 4]);  // camera position;
    const view = mat4.lookAt(
-      [0, 1, 5],  // camera position
+      cameraPositionValue,
      [0, 0, 0],  // target
      [0, 1, 0],  // up
+      viewValue,
    );
-    mat4.multiply(matrixValue, view, matrixValue);
-    mat4.rotateX(matrixValue, settings.rotation[0], matrixValue);
-    mat4.rotateY(matrixValue, settings.rotation[1], matrixValue);
-    mat4.rotateZ(matrixValue, settings.rotation[2], matrixValue);
+    mat4.identity(worldValue);
+    mat4.rotateX(worldValue, time * -0.1, worldValue);
+    mat4.rotateY(worldValue, time * -0.2, worldValue);

    // upload the uniform values to the uniform buffer
    device.queue.writeBuffer(uniformBuffer, 0, uniformValues);
Let’s also change the rendering to a rAF loop
-  const degToRad = d => d * Math.PI / 180;
-
-  const settings = {
-    rotation: [degToRad(20), degToRad(25), degToRad(0)],
-  };
-
-  const radToDegOptions = { min: -360, max: 360, step: 1, converters: GUI.converters.radToDeg };
-
-  const gui = new GUI();
-  gui.onChange(render);
-  gui.add(settings.rotation, '0', radToDegOptions).name('rotation.x');
-  gui.add(settings.rotation, '1', radToDegOptions).name('rotation.y');
-  gui.add(settings.rotation, '2', radToDegOptions).name('rotation.z');

  let depthTexture;

-  function render() {
+  function render(time) {
+    time *= 0.001;

     ...

+    requestAnimationFrame(render);
+  }
+  requestAnimationFrame(render);

  const observer = new ResizeObserver(entries => {
    for (const entry of entries) {
      const canvas = entry.target;
      const width = entry.contentBoxSize[0].inlineSize;
      const height = entry.contentBoxSize[0].blockSize;
      canvas.width = Math.max(1, Math.min(width, device.limits.maxTextureDimension2D));
      canvas.height = Math.max(1, Math.min(height, device.limits.maxTextureDimension2D));
-      // re-render
-      render();
    }
  });
  observer.observe(canvas);
And with that we get.
If you look closely you might see a small problem.
Correcting the reflection direction
Our cube with an environment map applied to it represents a mirrored cube. But a mirror normally shows things flipped horizontally. What’s going on?
The issue is, we’re on the inside of the cube looking out, but recall from the previous article, when we mapped textures to each side of the cube they mapped correctly when viewed from the outside.
Another way to look at this is, from inside the cube we’re in a “y-up right handed coordinate system”. This means positive-z is forward. Where as all of our 3d math so far uses a “y-up left handed coordinate system” [1] where negative-z is forward. A simple solution is to flip the Z coordinate when we sample the texture.
-  return textureSample(ourTexture, ourSampler, direction);
+  return textureSample(ourTexture, ourSampler, direction * vec3f(1, 1, -1));
Now the reflection is flipped, just like in a mirror.
Next let’s show how to use a cubemap for a skybox.
Finding and Making Cube Maps
You can find hundreds of free panoramas at polyhaven.com. Download a jpg or png of any one of them (click the ≡ menu in the top right). Then, go to this page and drag and drop the .jpg or .png file there. Select the size and format you want and click the button to save the images as cubemap faces.