WebGPU 비디오의 효율적인 사용
이전 글에서 이미지, 캔버스, 비디오를 텍스처로 로딩하는 방법을 알아봤습니다. 이 글에서는 WebGPU에서 비디오를 사용하는 보다 효율적인 방법을 설명합니다.
이전 글에서 비디오를 WebGPU 텍스처로 로딩할 때 copyExternalImageToTexture를 호출하였습니다.
이 함수는 비디오의 현재 프레임을 우리가 만들어둔, 이미 존재하는 텍스처에 복사하였습니다.
WebGPU에는 비디오를 사용하는 또다른 방법이 있습니다.
importExternalTexture인데 이름에서 알 수 있듯이 이 함수는 GPUExternalTexture를 반환해줍니다.
이 외부(external) 텍스처는 비디오 데이터를 직접 표현합니다. 복사가 필요하지 않습니다. [1]
importExternalTexture에 비디오를 넣어주면 텍스처가 반환되고, 바로 사용할 수 있습니다.
importExternalTexture의 텍스처를 사용할 때는 몇 가지 큰 유의사항이 있습니다.
-
텍스처는 현재 자바스크립트 작업이 종료될 때까지만 유효합니다.
대부분의 WebGPU 앱의 경우 위 말은 텍스처가
requestAnimationCallback함수가 끝날때까지만 존재한다는 뜻입니다. 또는requestVideoFrameCallback,setTimeout,mouseMove와 같은 다른 렌더링을 수행하는 이벤트일 수도 있습니다. 함수가 종료되면 텍스처가 만료(expired)됩니다. 비디오를 다시 사용하려면importExternalTexture를 다시 호출해야만 합니다.이 말인즉,
importExternalTexture를 호출할 때마다 새로운 바인드그룹을 만들어서[2] 새로운 텍스처를 셰이더에 전달할 수 있어야 한다는 뜻입니다. -
셰이더에서
texture_external를 사용해야만 합니다.이전 텍스처 예제에서는 모두
texture_2d<f32>를 사용했지만importExternalTexture에서 만들어진 텍스처는texture_external를 사용한 바인딩 포인트에만 바인딩 될 수 있습니다. -
셰이더에서
textureSampleBaseClampToEdge를 사용해야만 합니다.이전 텍스처 예제에서는 모두
textureSample를 사용했지만importExternalTexture에서 만들어진 텍스처는textureSampleBaseClampToEdge만 사용할 수 있습니다. [3] 이름 그대로,textureSampleBaseClampToEdge는 기본 텍스터 밉 레벨 (레벨 0)만 샘플링합니다. 다시 말해, 외부 텍스처는 밉맵을 사용할 수 없습니다. 게다가, edge clamping을 하기 때문에addressModeU: 'repeat'는 무시됩니다.fract를 아래와 같이 사용하면 직접 반복(repeat)을 할 수 있습니다.let color = textureSAmpleBaseClampToEdge( someExternalTexture, someSampler, fract(texcoord) );`
이러한 제약들을 받아들이기 싫으면 이전 글에서와 같이 copyExternalImageToTexture를 사용해야만 합니다.
importExternalTexture를 사용한 예제를 만들어 봅시다.
비디오는 아래와 같습니다.
이전 예제에서 수정해야 할 사항은 아래와 같습니다.
먼저 셰이더를 수정해야 합니다.
struct OurVertexShaderOutput {
  @builtin(position) position: vec4f,
  @location(0) texcoord: vec2f,
};

struct Uniforms {
  matrix: mat4x4f,
};

@group(0) @binding(2) var<uniform> uni: Uniforms;

@vertex fn vs(
  @builtin(vertex_index) vertexIndex : u32
) -> OurVertexShaderOutput {
  let pos = array(

    vec2f( 0.0,  0.0),  // center
    vec2f( 1.0,  0.0),  // right, center
    vec2f( 0.0,  1.0),  // center, top

    // 2st triangle
    vec2f( 0.0,  1.0),  // center, top
    vec2f( 1.0,  0.0),  // right, center
    vec2f( 1.0,  1.0),  // right, top
  );

  var vsOutput: OurVertexShaderOutput;
  let xy = pos[vertexIndex];
  vsOutput.position = uni.matrix * vec4f(xy, 0.0, 1.0);
-  vsOutput.texcoord = xy * vec2f(1, 50);
+  vsOutput.texcoord = xy;
  return vsOutput;
}

@group(0) @binding(0) var ourSampler: sampler;
-@group(0) @binding(1) var ourTexture: texture_2d<f32>;
+@group(0) @binding(1) var ourTexture: texture_external;

@fragment fn fs(fsInput: OurVertexShaderOutput) -> @location(0) vec4f {
-  return textureSample(ourTexture, ourSampler, fsInput.texcoord);
+  return textureSampleBaseClampToEdge(
+      ourTexture,
+      ourSampler,
+      fsInput.texcoord,
+  );
}
위에서, 텍스처 좌표에 50을 곱하는 것은 삭제했는데, 이는 반복을 보여주기 위함이었고, 외부 텍스처는 반복이 불가능하기 때문입니다.
그리고 위해서 이야기한 제약 사항들을 수정했습니다.
texture_2d<f32>는 texture_external로 바뀌었고 textureSample은 textureSampleBaseClampToEdge로 바뀌었습니다.
텍스처 생성과 밉맵 생성 관련한 코드는 모두 제거합니다.
물론 비디오의 출처를 명시해야 합니다.
-  video.src = 'resources/videos/Golden_retriever_swimming_the_doggy_paddle-360-no-audio.webm';
+  video.src = 'resources/videos/pexels-anna-bondarenko-5534310 (540p).mp4';
밉 레벨이 없으므로 이를 위한 샘플러도 생성하지 않습니다.
  const objectInfos = [];
-  for (let i = 0; i < 8; ++i) {
+  for (let i = 0; i < 4; ++i) {
    const sampler = device.createSampler({
      addressModeU: 'repeat',
      addressModeV: 'repeat',
      magFilter: (i & 1) ? 'linear' : 'nearest',
      minFilter: (i & 2) ? 'linear' : 'nearest',
-      mipmapFilter: (i & 4) ? 'linear' : 'nearest',
    });

  ...
importExternalTexture를 호출하기 전까지는 텍스처가 없기 때문에 바인드그룹을 미리 만들수도 없습니다.
따라서 나중에 생성하기 위한 정보만 저장해 둡니다. [4]
  const objectInfos = [];
  for (let i = 0; i < 4; ++i) {

    ...

-    const bindGroups = textures.map(texture =>
-      device.createBindGroup({
-        layout: pipeline.getBindGroupLayout(0),
-        entries: [
-          { binding: 0, resource: sampler },
-          { binding: 1, resource: texture },
-          { binding: 2, resource: uniformBuffer },
-        ],
-      }));

    // Save the data we need to render this object.
    objectInfos.push({
-      bindGroups,
+      sampler,
      matrix,
      uniformValues,
      uniformBuffer,
    });
렌더링 시점에 importExternalTexture를 호출하고 바인드그룹을 만듭니다.
  function render() {
-    copySourceToTexture(device, texture, video);
    ...

    const encoder = device.createCommandEncoder({
      label: 'render quad encoder',
    });
    const pass = encoder.beginRenderPass(renderPassDescriptor);
    pass.setPipeline(pipeline);

+    const texture = device.importExternalTexture({source: video});

    objectInfos.forEach(({sampler, matrix, uniformBuffer, uniformValues}, i) => {
+      const bindGroup = device.createBindGroup({
+        layout: pipeline.getBindGroupLayout(0),
+        entries: [
+          { binding: 0, resource: sampler },
+          { binding: 1, resource: texture },
+          { binding: 2, resource: uniformBuffer },
+        ],
+      });

      ...

      pass.setBindGroup(0, bindGroup);
      pass.draw(6);  // call our vertex shader 6 times
    });
또한 텍스처의 반복이 불가능하니 그리는 사각형이 보다 잘 보이도록 행렬 계산을 수정하여 50배 크기로 만들지는 않도록 합시다.
  function render() {
    ...
    objectInfos.forEach(({bindGroups, matrix, uniformBuffer, uniformValues}, i) => {
      const bindGroup = bindGroups[texNdx];

      const xSpacing = 1.2;
-      const ySpacing = 0.7;
-      const zDepth = 50;
+      const ySpacing = 0.5;
+      const zDepth = 1;

-      const x = i % 4 - 1.5;
-      const y = i < 4 ? 1 : -1;
+      const x = i % 2 - .5;
+      const y = i < 2 ? 1 : -1;

      mat4.translate(viewProjectionMatrix, [x * xSpacing, y * ySpacing, -zDepth * 0.5], matrix);
-      mat4.rotateX(matrix, 0.5 * Math.PI, matrix);
-      mat4.scale(matrix, [1, zDepth * 2, 1], matrix);
+      mat4.rotateX(matrix, 0.25 * Math.PI * Math.sign(y), matrix);
+      mat4.scale(matrix, [1, -1, 1], matrix);
      mat4.translate(matrix, [-0.5, -0.5, 0], matrix);

      // copy the values from JavaScript to the GPU
      device.queue.writeBuffer(uniformBuffer, 0, uniformValues);

      pass.setBindGroup(0, bindGroup);
      pass.draw(6);  // call our vertex shader 6 times
    });
이로써 WebGPU에서 복사를 하지 않는 비디오 텍스처가 만들어졌습니다.
texture_external 왜 써야하지 ?
어떤 분들은 이 비디오 사용 방식이 일반적인 texture_2d<f32>가 아닌 texture_external을 사용한다는 사실을 주목할 것입니다.
그리고 일반적인 textureSample이 아닌 textureSampleBaseClampToEdge를 사용하는데, 이는 이 텍스처 사용 방식을 렌더링의 다른 부분과 섞어서 사용하고 싶다면 서로 다른 셰이더가 필요하다는 것을 의미합니다.
정적 텍스처를 사용할 때는 texture_2d<f32>를 사용하는 셰이더가 필요하고 비디오를 사용할 때는 texture_external을 사용하는 다른 셰이더가 필요합니다.
여기서 내부적으로 무슨 일이 일어나는지 이해하는 것이 중요합니다.
비디오는 종종 밝기(각 픽셀의 밝기값) 부분과 색도(각 픽셀의 색상값) 부분이 분리되어 전달됩니다. 종종 색상 정보의 해상도는 밝기 정보보다 낮습니다. 이를 분리하고 인코딩하는 일반적인 방법은 YUV인데, 데이터가 휘도(Y)와 색상 정보(UV)로 분리됩니다. 이런 표현 방식은 일반적으로 압축률도 더 좋습니다.
WebGPU의 외부 텍스처 목표는 제공되는 형식 그대로 비디오를 직접 사용하는 것입니다. WebGPU 에서는, 제공되는 형식 그대로 비디오를 직접 사용할 수 있도록 하는 것을 지향합니다. 이를 위해 하나의 비디오 텍스처가 있는 척하지만 실제 구현에서는 여러 개의 텍스처가 있을 수 있습니다. 예를 들어, 휘도 값(Y)을 가진 하나의 텍스처와 UV 값을 가진 별도의 텍스처가 있을 수 있습니다. 그리고 이러한 UV 값은 특별하게 분리될 수 있습니다. 픽셀당 2개의 값이 서로 교차된(interleaved) 텍스처 형태일수도 있고,
uvuvuvuvuvuvuvuv
uvuvuvuvuvuvuvuv
uvuvuvuvuvuvuvuv
uvuvuvuvuvuvuvuv
uvuvuvuvuvuvuvuv
uvuvuvuvuvuvuvuv
다음과 같이 배열될 수 있습니다.
uuuuuuuu
uuuuuuuu
uuuuuuuu
uuuuuuuu
uuuuuuuu
uuuuuuuu
vvvvvvvv
vvvvvvvv
vvvvvvvv
vvvvvvvv
vvvvvvvv
vvvvvvvv
텍스처의 한 영역에는 픽셀당 하나의 (u) 값이, 다른 영역에는 하나의 (v) 값이 있습니다. 이렇게 데이터를 배열하는 것이 종종 더 나은 압축률을 제공하기 때문입니다.
셰이더에 texture_external과 textureSampleBaseClampToEdge를 추가하면, WebGPU는 이면에서 셰이더에 코드를 주입하여 이 비디오 데이터를 가져와서 RGBA 값을 반환해줍니다.
여러 텍스처에서 샘플링을 하거나, 올바른 데이터를 2개, 3개 또는 그 이상의 위치에서 가져와 RGB로 변환하기 위해 텍스처 좌표 계산을 수행해야 할 수도 있습니다.
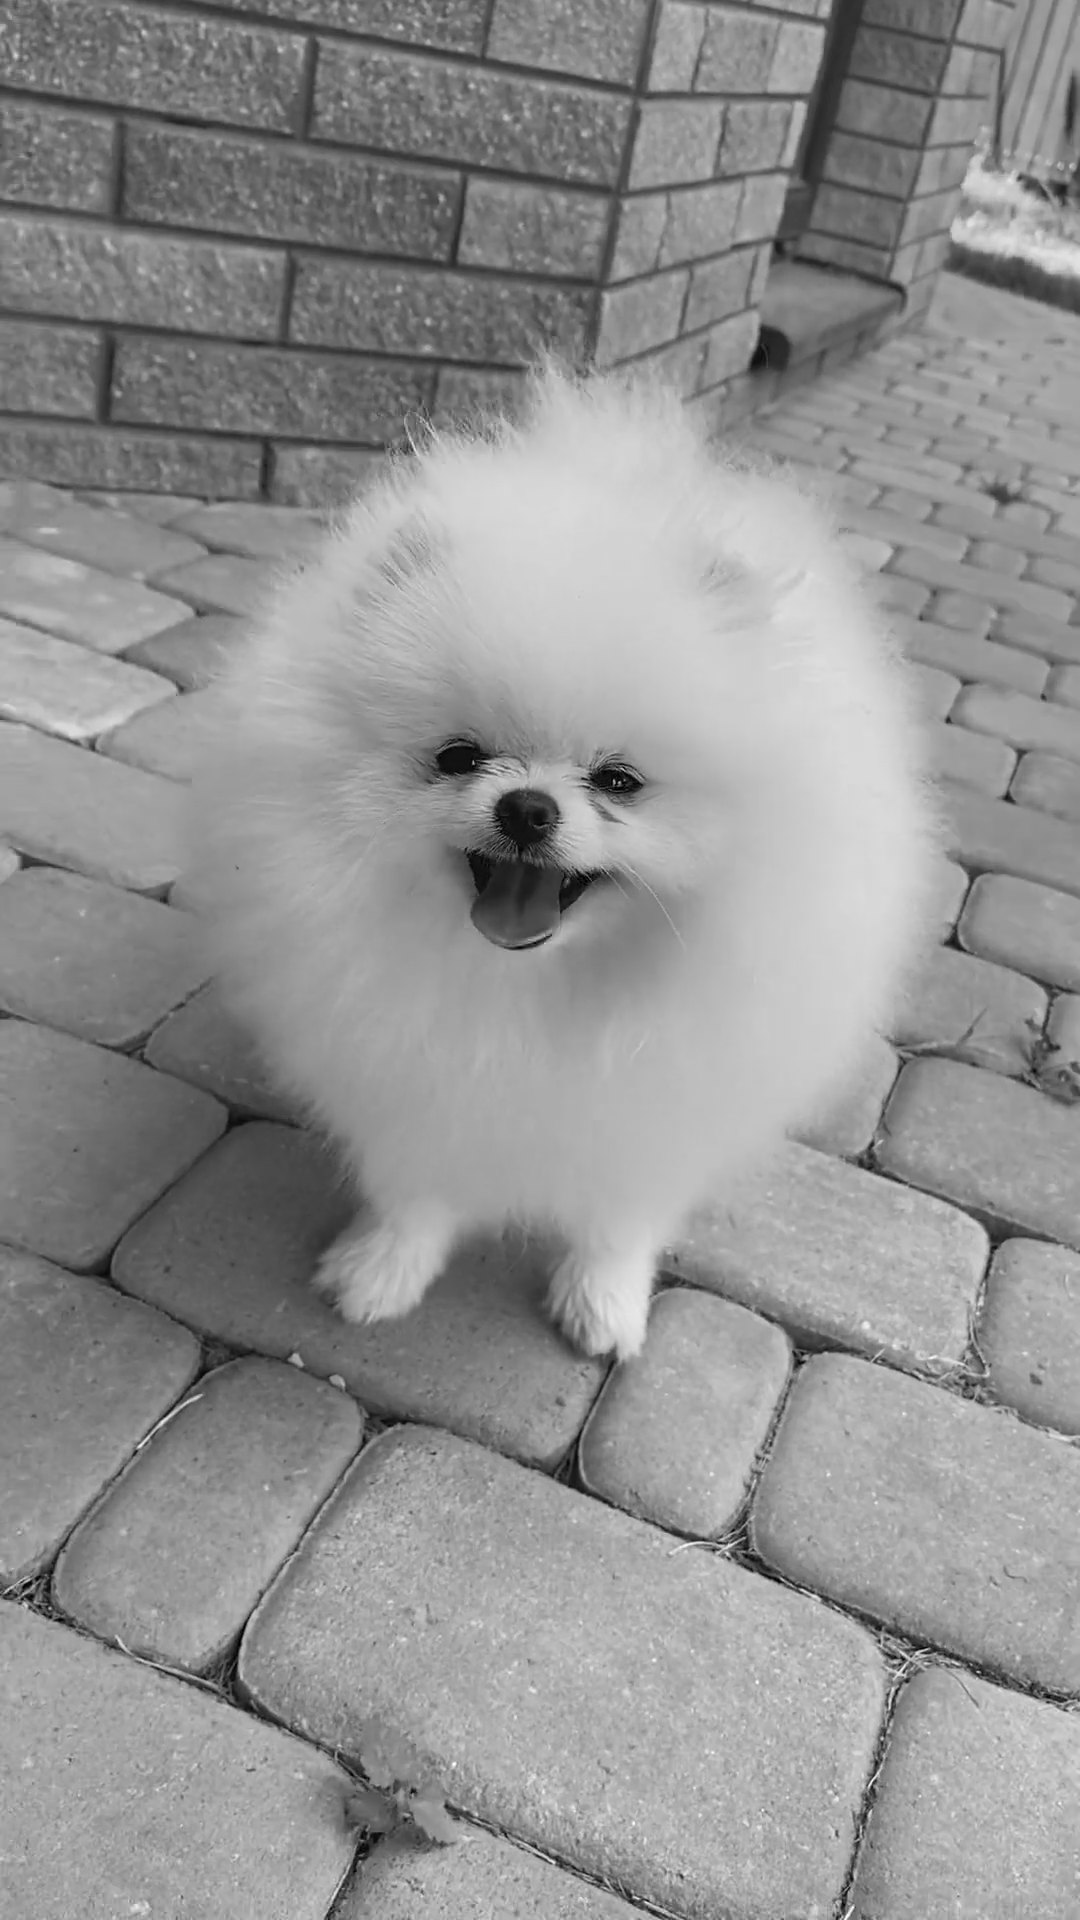
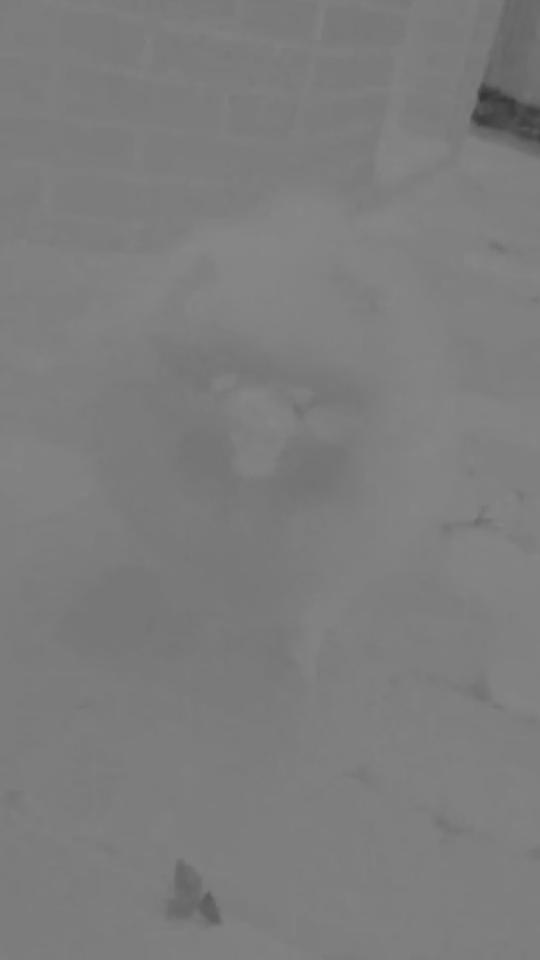
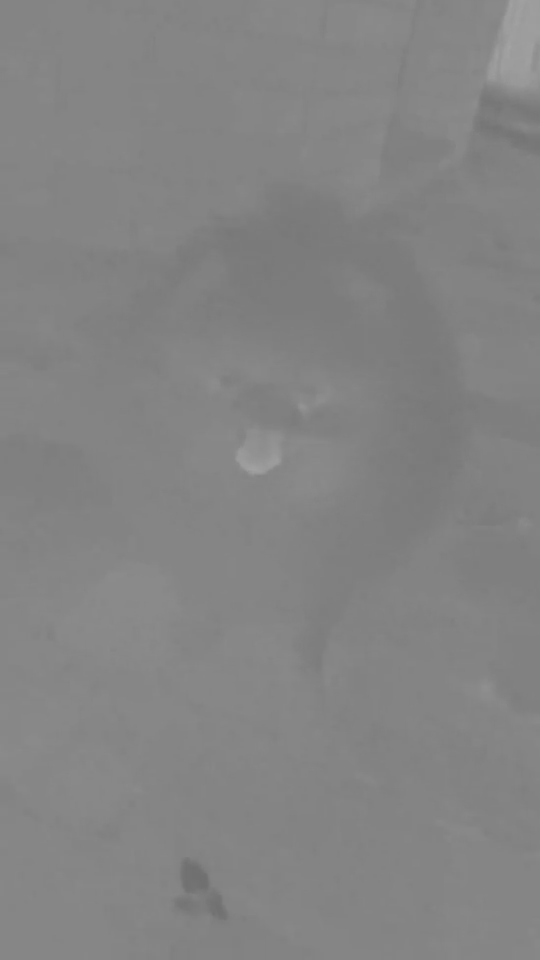
위 비디오의 Y, U, V 채널은 다음과 같습니다.


(빨강 ↔ 노랑)

(파랑 ↔ 노랑)
WebGPU는 여기에 관련하여 효과적으로 최적화를 제공하고 있습니다.
전통적인 그래픽 라이브러리에서는 이것을 여러분이 알아서 처리해야 합니다.
YUV에서 RGB로 변환하는 코드를 직접 작성하거나 OS에 요청해야 합니다.
데이터를 RGBA 텍스처로 복사한 다음 그 RGBA 텍스처를 texture_2d<f32>로 사용하도록 직접 구현할 수 있을 겁니다.
이 방식이 더 유연하기는 합니다. 비디오와 정적 텍스처에 서로 다른 셰이더를 작성할 필요도 없습니다.
하지만 YUV 텍스처에서 RGBA 텍스처로 변환이 일어나야 하기 때문에 더 느립니다.
이러한 느리지만 유연한 방법도 WebGPU에서 여전히 사용 가능하며 이전 글에서 다루었습니다. 유연성이 필요한 경우, 비디오와 정적 이미지에 서로 다른 셰이더 없이 모든 곳에서 비디오를 사용하고 싶다면 그 방법을 사용하세요.
WebGPU가 texture_external에 대해 이러한 최적화를 제공하는 한 가지 이유는 이것이 웹이기 때문입니다.
브라우저에서 지원되는 비디오 형식은 시간이 지남에 따라 변경됩니다.
WebGPU가 이를 처리해주지만, YUV에서 RGB로 변환하는 셰이더를 직접 작성해야 한다면 비디오 형식이 변경되지 않을 것이라는 것도 알아야 하는데, 웹에서는 이것이 보장되지 않습니다.
이 글에서 설명한 texture_external 방법을 사용하기에 적절한 곳은 meet, zoom, FB messenger와 같은 비디오 관련 기능들입니다.
시각화 추가나 배경 분리를 위한 얼굴 인식을 할 때 같은 경우입니다.
또 다른 경우는 WebXR에서 WebGPU가 지원되면 VR 비디오를 위한 용도입니다.
카메라 사용하기
실제로 카메라를 사용해 봅시다. 아주 조금만 변경하면 됩니다.
먼저, 재생할 비디오를 지정하지 않습니다.
  const video = document.createElement('video');
-  video.muted = true;
-  video.loop = true;
-  video.preload = 'auto';
-  video.src = 'resources/videos/pexels-anna-bondarenko-5534310 (540p).mp4'; /* webgpufundamentals: url */
  await waitForClick();
  await startPlayingAndWaitForVideo(video);
그런 다음, 사용자가 재생을 클릭하면 getUserMedia를 호출하여 카메라를 요청합니다.
결과 스트림은 비디오에 적용됩니다. WebGPU 부분의 코드에는 변경이 없습니다.
  function waitForClick() {
    return new Promise(resolve => {
      window.addEventListener(
        'click',
-        () => {
+        async() => {
          document.querySelector('#start').style.display = 'none';
-          resolve();
+          try {
+            const stream = await navigator.mediaDevices.getUserMedia({
+              video: true,
+            });
+            video.srcObject = stream;
+            resolve();
+          } catch (e) {
+            fail(`could not access camera: ${e.message ?? ''}`);
+          }
        },
        { once: true });
    });
  }
됐습니다!
효율적인 texture_external 타입 텍스처 대신, 보다 유연한 texture<f32> 타입 텍스처로 카메라 이미지를 만들어 쓰기 원한다면
이전 글의 비디오 예제에도 유사한 변경을 해 볼수 있을 겁니다.
실제 동작 방식은 브라우저 구현에 달려 있습니다. WebGPU 명세(spec)는 브라우저가 복사를 하지 않기를 바라며 만들어졌습니다. ↩︎
명세에는 구현에 따라 같은 텍스처를 반환할 수 있어야 한다고 되어 있지만 꼭 요구되는 사항은 아닙니다. 같은 텍스처가 반환되었는지 확인하려면 이를 다음과 같이 확인해야 합니다.
const newTexture = device.importExternalTexture(…);
같은 텍스처라면 이미 존재하는 바인드그룹과 참조된
const same = oldTexture === newTexture;oldTexture를 사용 가능합니다. ↩︎textureLoad도 외부 텍스처에 사용할 수 있습니다. ↩︎바인드 그룹을 나누어서 하나는 샘플러와 uniform 버퍼만을 가지고 있도록 미리 만들고, 다른 하나는 렌더링 시점에 생성할 외부 텍스처를 참조하기만 하는 것을 만들어 둘 수도 있습니다. 이렇게 하는 것이 좋을지는 여러분의 필요에 따라 선택하시면 됩니다. ↩︎